There are several levels of NRVIA (National RV Inspectors Association) inspection, from a simple safety check to a premier inspection that reviews over 500 items in the RV. The right one depends on why you want the inspection.
Which inspection is right for you?
- Experienced RVer? A simple Safety and Use check may be all you need. It takes 3 hours or less.
- New to RVing? The Safety and Use check is also the one for you if you want someone to walk you through the rig, show you how everything works and double-check the safety issues.
- Buying a used rig for lots of travel, but not full time? You probably want a full inspection that covers everything listed below.
- Buying an older rig, or planning to live in it full time? Choose a full inspection with a fluid analysis. Plan on 6 to 8 hours, and up to a week for the lab results.
- Selling your RV? An inspection before the sale points out problems you can fix first. That lets you ask top dollar and gives your buyer peace of mind.
Why an inspection matters
Let’s face it, RVs are rolling earthquakes. Even brand new from the factory, they will have one problem or another.
- Buying new from a dealer? Do not buy on price alone. Check the dealer’s reviews for service after the sale. The relationship you build with your dealer can make a big difference in your RVing experience.
- Buying used from a dealer or a private seller? An inspection is a very good idea. The more an RV is used, the more wear and tear it has. Good maintenance helps, but some problems stay hidden until an inspector tests for that specific thing.
- Planning to travel a lot? Don’t assume any RV dealership will work on your rig. Unlike car dealers, RV dealers don’t get financial or advertising support from the manufacturers, so many only service RVs they sold.
Your NRVIA inspector is trained in troubleshooting and must complete 24 hours of continuing education every year to keep his certification. He can repair problems on your RV, but it would be unethical for him to fix problems he finds during an inspection.
What does an NRVIA inspector actually do?
Checks the VIN. The first step is making sure he is looking at the right vehicle. It sounds unlikely, but even dealers have been known to prep the wrong RV for sale. If you are buying from out of state, you definitely want to know the RV you expect is the one being inspected.
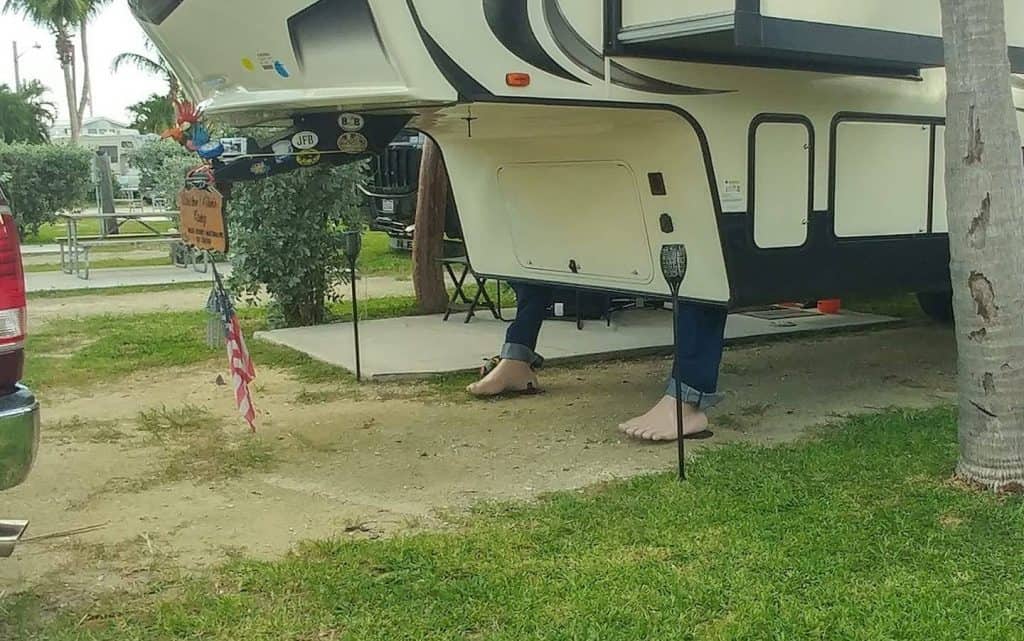
Checks for electrical hazards. A miswired outlet or a screw driven in the wrong place can cause a “hot skin” condition, where the outside of the RV becomes electrically charged. Because the RV sits on rubber tires, you may not notice until you are standing on the ground and touch a metal part. Your inspector checks for this before he even steps inside. He also runs a GFCI circuit test and a polarity test.
Tests the alarms and propane system. Your smoke, LP gas and carbon monoxide detectors are checked both with an instrument and with the installed alarm system. The propane system is checked for leaks, including the tank, water heater and furnace.
Checks the fire extinguishers. He makes sure you have the right type and that they are in the right places. A home fire extinguisher and an RV fire extinguisher are not the same thing. A towable should have at least one 5 BC extinguisher. A motorized RV, or any RV equipped with a generator, is required to have at least one 10 BC extinguisher, which costs roughly $30 to $45.
Checks the emergency exits. An RV fire extinguisher isn’t really meant to put out a fire, although it can. Its job is to give you time to get out. So your emergency exit windows should be easy to reach and fully working, except for single-use windows.
Climbs on the roof. He closely examines the seals, joints and trim rails for damage or places where water could get in. Different roofs need different sealants, so using the wrong one is a warning sign. He also looks for blocked vents, cracked AC shrouds and damaged TV antennas. These may not stop you from using the RV, but they can point to past problems that were covered up, or to trouble ahead.

Your inspector will also check:
- All slideouts, slide toppers and awnings
- Sidewalls, doors and windows for delamination and proper function
- Frame and running gear for rust, damage or leaks
- Wheels and axle assembly, including tire tread, sidewalls and date codes
- Chassis and undercarriage
- Hitch, hitch receiver and 7-pin connector
- Leveling system
- 12V DC marker lights, including chassis turn signals and running lights
- 12V DC and 120V AC interior, exterior and compartment lights
- Circuit panel (fuse box)
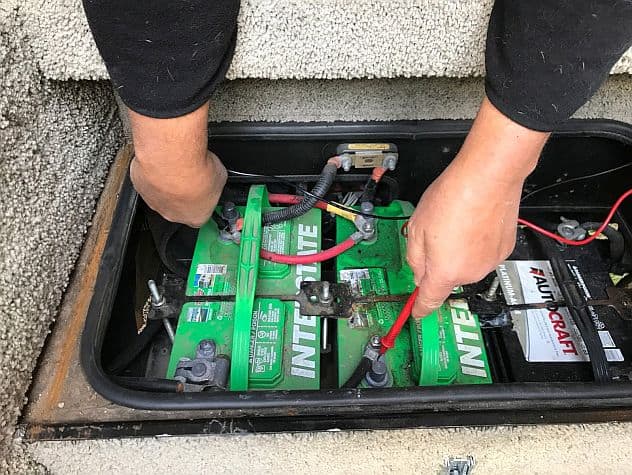
- Converter, inverter and battery system
- All appliances: generator, refrigerator, air conditioners, cooktop and oven, microwave or convection oven, exhaust fans, washer and dryer, dishwasher, electric fireplace, ceiling fans and built-in vacuum
- Water systems: city water hookup, fresh water tank and pump, gray and black tanks, lines, valves and drain cap
- Interior: ceiling, walls, flooring, cabinets, drawers, doors, furniture and entertainment system
- Bathroom: sinks, toilet and shower or tub
Fluid analysis
If the RV is motorized, your inspector can draw samples of fluids like engine oil, coolant and transmission fluid and send them to a lab. He can also sample the generator’s oil and coolant, and the hydraulic fluid on a fifth wheel with a leveling system. A fluid analysis can warn you about a coming repair to the engine, transmission, generator or hydraulics. Learn more about fluid analysis.
Ready to book an inspection? John is retired from formal inspections, but you can find a certified RV inspector near you through RV Help. Have a question first? Ask John.